
FIDO2 For Windows Hello, Yubikeys & Passwordless Authentication
My-Access offers Passwordless Authentication using Fido2 or Windows Hello tokens. FIDO2 is the passwordless evolution of FIDO U2F.
The integration of FIDO2 standard will enable users to enroll FIDO2 tokens such as Yubico YubiKeys and use them as authentication method in Memority to access Web applications.
My-Access supports the following use cases:
Authentication to access Web Applications on workstation or mobile browser using WebAuthn.
Authentication with various connection and credential unlock types: USB, NFC, fingerprint, face recognition, etc.
Authentication based on WebAuthn to Web Applications on Windows using Windows Hello
FIDO2/CTAP2 Protocol Compatibility
Before enrolling a FIDO2 device, please check that your YubiKey model supports the FIDO2/WebAuthn (CTAP2) protocol required for passwordless authentication. The table below lists compatible and incompatible models based on their supported protocol.
YubiKey Model | CTAP2 Compatible | Reason (Supported Protocol) |
|---|---|---|
YubiKey 5 Series (5 NFC, 5C, 5C NFC, 5Ci, 5 Nano, 5C Nano) | ✅ | FIDO2/WebAuthn (CTAP2) |
YubiKey 5 FIPS Series (140-2 / 140-3) | ✅ | FIDO2/WebAuthn (CTAP2) |
YubiKey Bio Series | ✅ | FIDO2/WebAuthn (CTAP2/CTAP2.1) |
Security Key Series (NFC / C NFC) | ✅ | FIDO2/WebAuthn (CTAP2) |
YubiKey NEO | ❌ | FIDO U2F (CTAP1) only |
YubiKey 4 Series | ❌ | FIDO U2F (CTAP1) only |
YubiKey Standard / Nano (legacy) | ❌ | OTP only |
Early FIDO U2F Security Key (1st gen) | ❌ | FIDO U2F (CTAP1) only |
Enrollment process
Activation
To allow an identity to access the enrollment feature and use the WebAuthn authentication the method needs to be activated for this user.
This activation can be done:
Manually by an administrator
Automatically from Memority policy (identity or role) which can use identity attributes characteristic
Self-Service
Self-Service features may rely on the Self-Service Authentication Hub provided by My-Keys.
Using the Self-Service Authentication Hub provided by My-Keys, users can access the WebAuthn enrollment feature. This feature allows them to:
Enroll new device
Manage existing devices (rename / remove)
End user WebAuthn form
When enrolling a new device, the user must follow several steps, these steps will be different depending on the kind of device the user wants to enroll.
Step 1: Define new device’s name
My-Access allows users to define a name for each device the user enrolls.
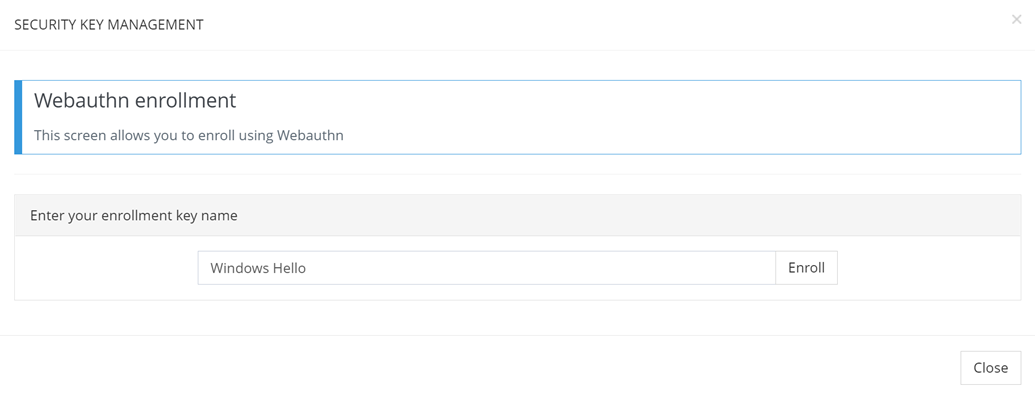
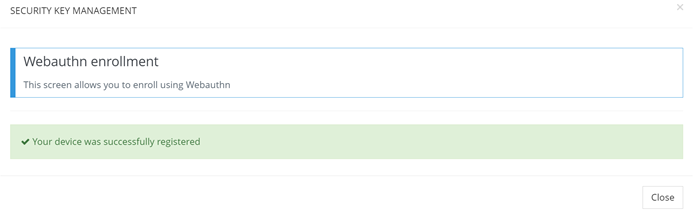
WebAuthn Enrollment
Step 2: Fill in Windows Hello PIN code.
Windows Hello enrollment process will be prompted by default, allowing users to fill his Windows Hello PIN code.

Windows Hello WebAuthn Registration Enrollment form (1/2)
Once correct code is entered, enrollement will be marked as successful.
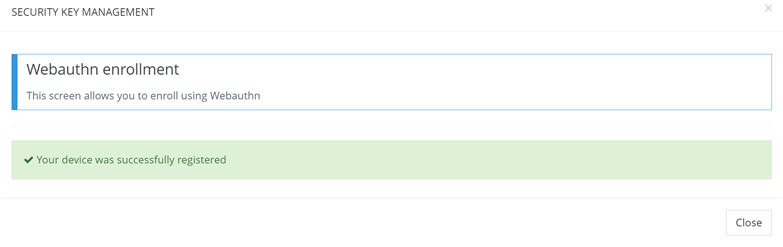
Windows Hello WebAuthn Success Enrollment form (2/2)
To enroll another kind of device instead (ie : Keys, etc), click on cancel to trigger the enrollment process for another device (Step 3).
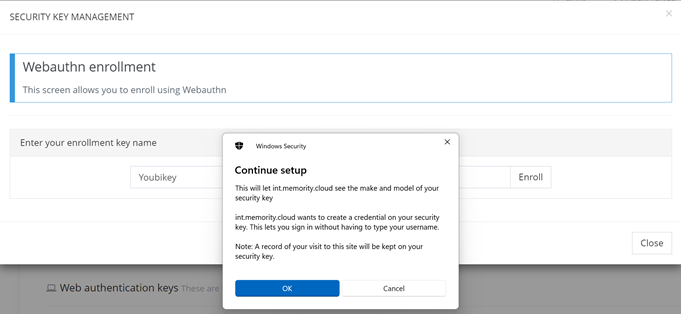
Step 3: Enroll a device other than Windows Hello.
Users will be asked to approve Microsoft native popups about the enrollment process.
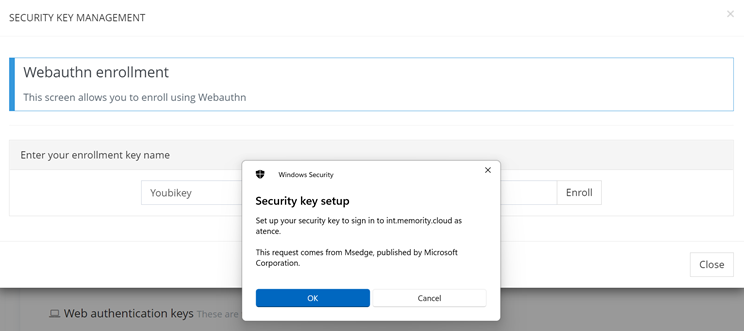
Key WebAuthn Domain Validation Enrollment form (1/6)
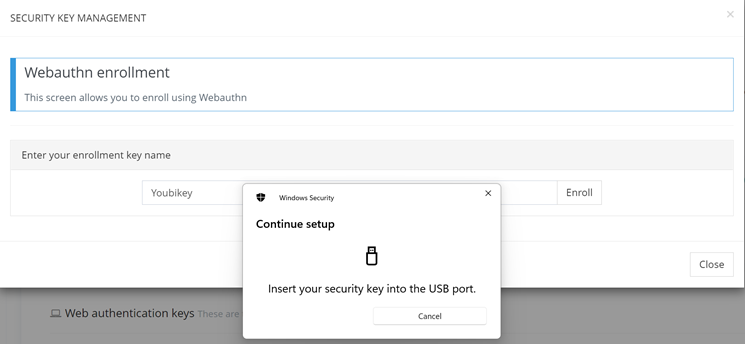
Key WebAuthn Domain Validation Enrollment form (2/6)
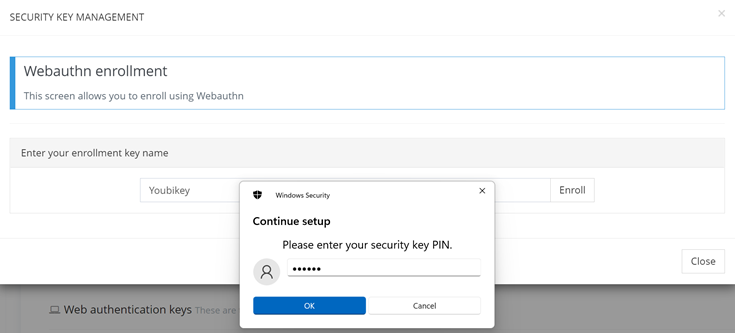
Then, the system will ask users to insert their device, enter their PIN or, for eligible keys, enter a valid fingerprint to validate it.
Key WebAuthn Domain Validation Enrollment form (3/6)
Key WebAuthn Domain Validation Enrollment form (4/6)
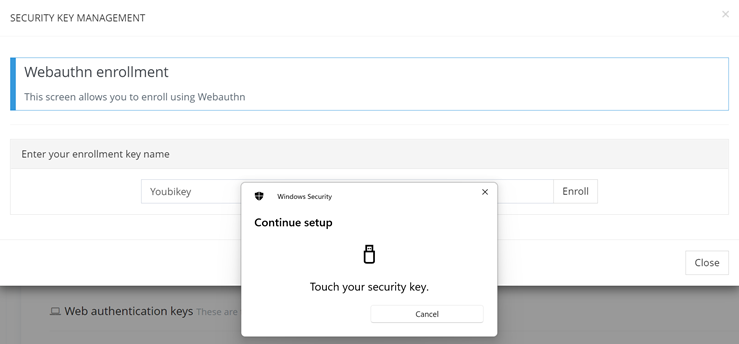
Key WebAuthn Domain Validation Enrollment form (5/6)
Once this step is complete, enrollement will be marked as successful.
Windows Hello WebAuthn Success Enrollment form (6/6)
All lables are customizable to get a User Experience closer to your needs.
Administration
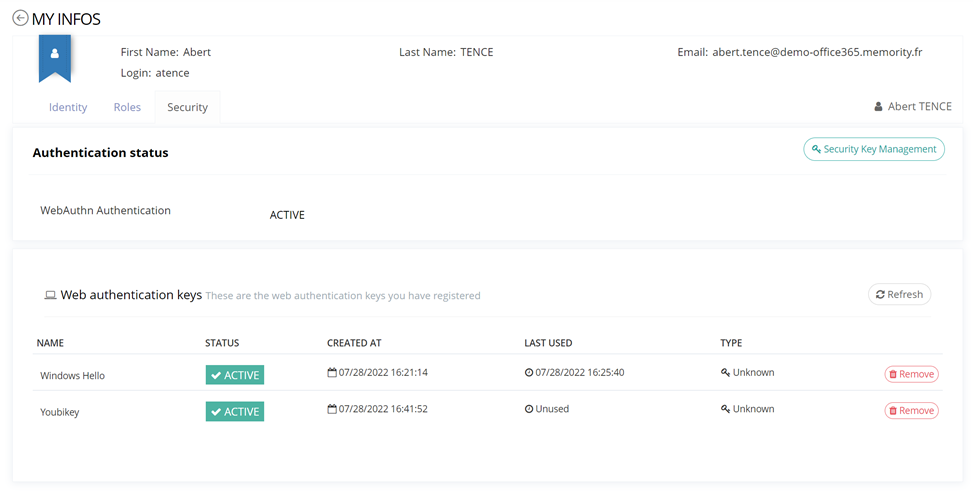
Administrators can manage enrollment(s) of an identity through a feature.
Similar to users, admins can see the following information from the self-service hub:
Name
Status
Enrollment date
Last Used date with some information about it (IP, …)
Type (Windows Hello, Key, …)
Admins can also manage a user's enrollment:
Disable it: This action allows to disable the authentication for this device for the identity. While the device is disabled it cannot be used by the user to authenticate, but the enrollment is not deleted so it can be used again once it has been reactivated.
Remove it: This action allows to delete an enrollment for this identity. After the deletion, if the user has other enrollment, he will be able to use them to authenticate otherwise he will have to enroll a new device to be able to authenticate using this method.
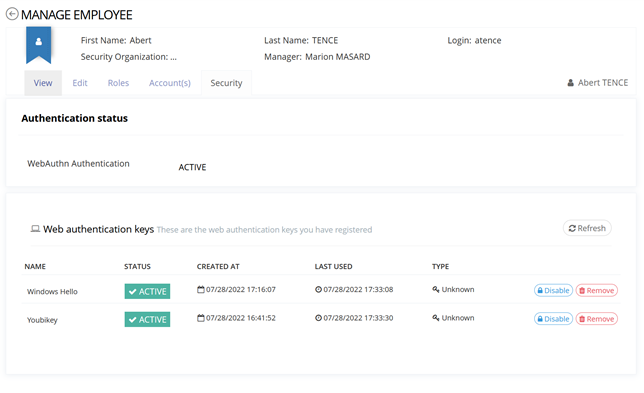
Administration Enrollment form
Authentication process
As for other authentication modes, once the method is activated and a FIDO2 device is enrolled, a new module will be available.
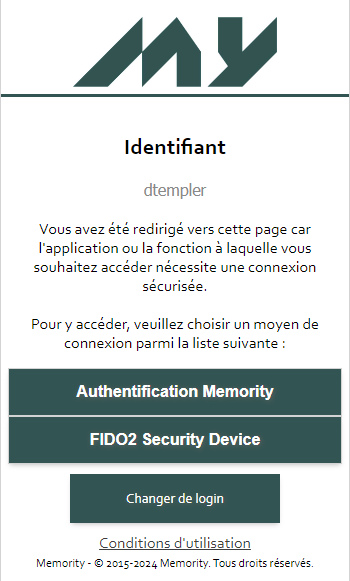
After selecting FIDO2 authentication method, the native Windows pop up is displayed to allow users to select the device they want to use.
Similar to the enrollment process, Windows Hello isp rompted by default. Users can now type their PIN code.
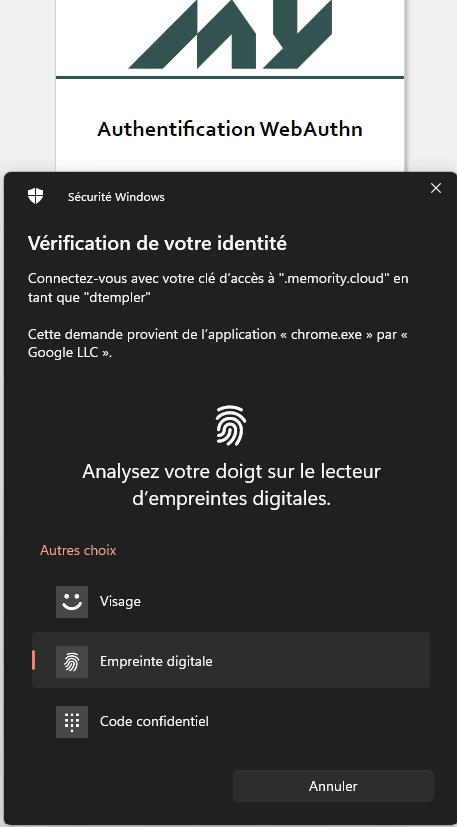
For devices other than Windows Hello, users must select the preferred method and enter PIN or fingerprit to validate process
Once authentication is successful, users will be redirected to the application.