
Google Provisioning
The Memority’s REST connector can be used to provision a Google tenant thanks to APIs. However, some prerequisites must be respected to be able to provision the application.
This page explains how the provisioning works in Memority and prerequisites to be able to provision Google.
Generic REST connector prerequisites are explained in page REST provisioning.
Definitions
What Google objects can be managed ?
The connector is able to manage user accounts, distribution lists, groups and their assignments.
Can we manage license ?
Licenses can be managed though the connector or thanks to automatic assignment rule in Google.
Can we manage account delegation & ownership ?
Account delegation on a mailbox can be managed trough the connector.
The connector can manage account’s calendars, drive and documents ownership to transferred them to another account.
Memority REST connector
APIs authentication prerequisites
To be able to request Google APIs, Memority’s connector need to authenticate with an OAuth2 JWT token. The procedure below explain how to create the configuration in Google to be able to authenticate.
Step | Description | |
|---|---|---|
| 1 | Access to Google tenant’s developer console: https://console.developers.google.com | 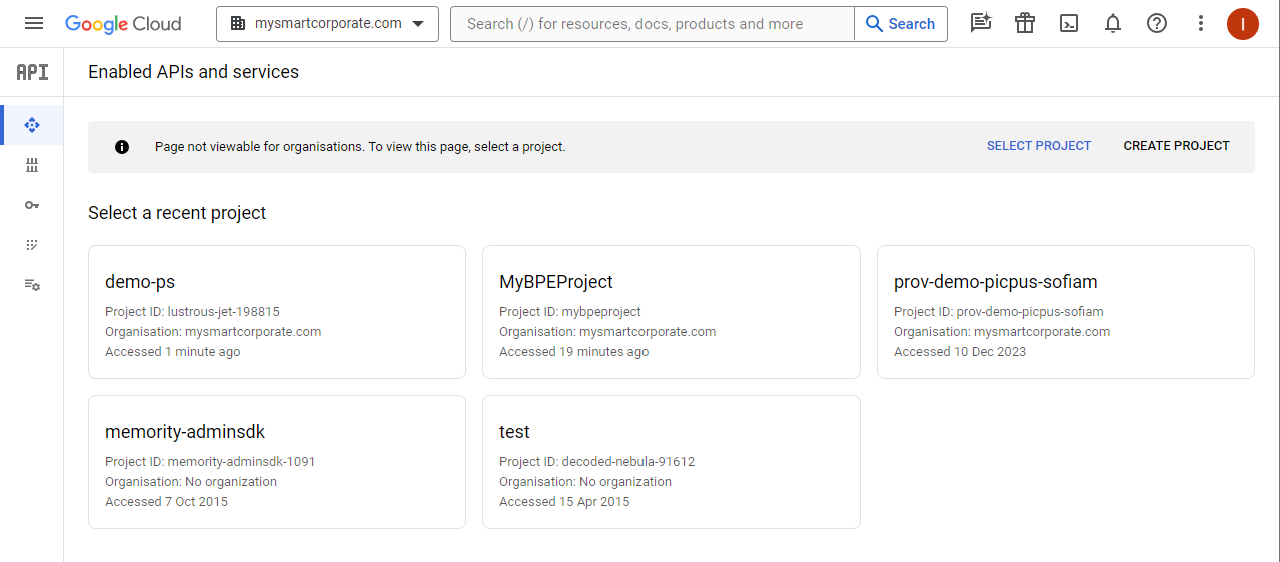 Google developer console |
| 2 | Create a new project
| 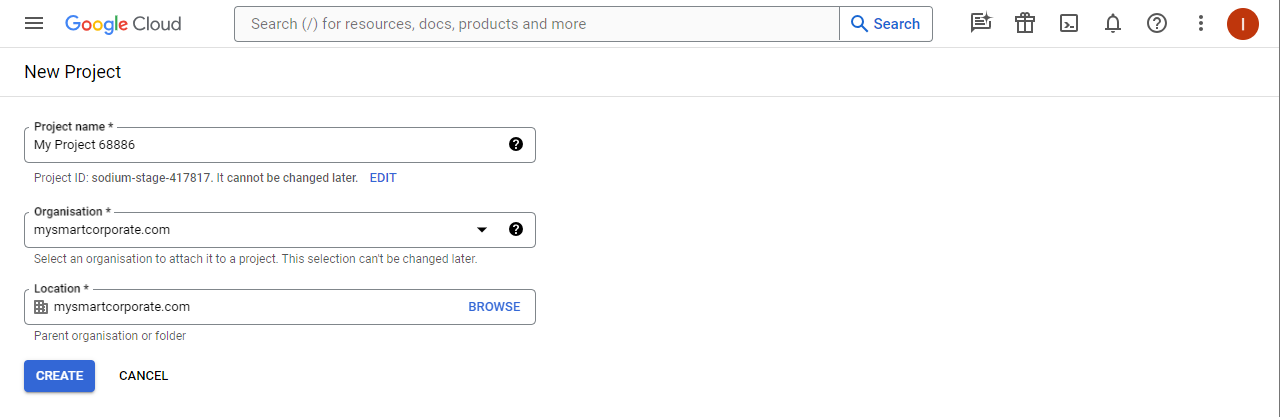 Create a new project |
| 3 | On left menu, click “Library” to access API library | 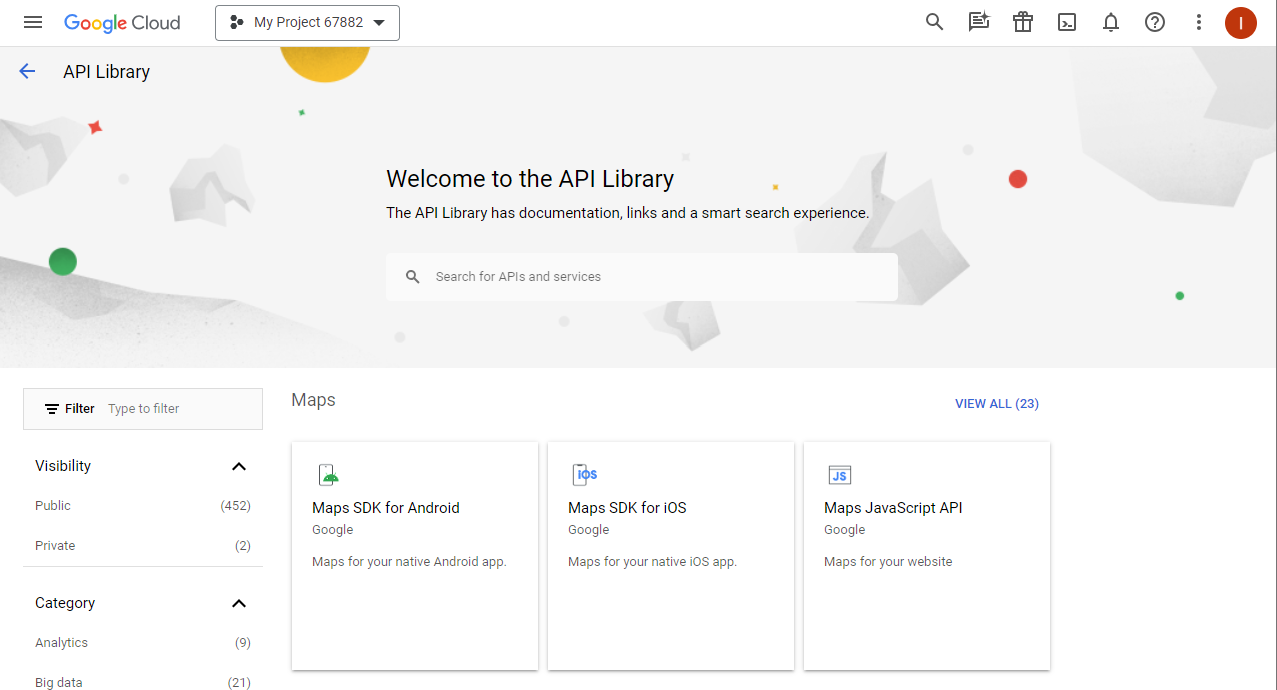 API library |
| 4 | Enable Admin SDK API
| 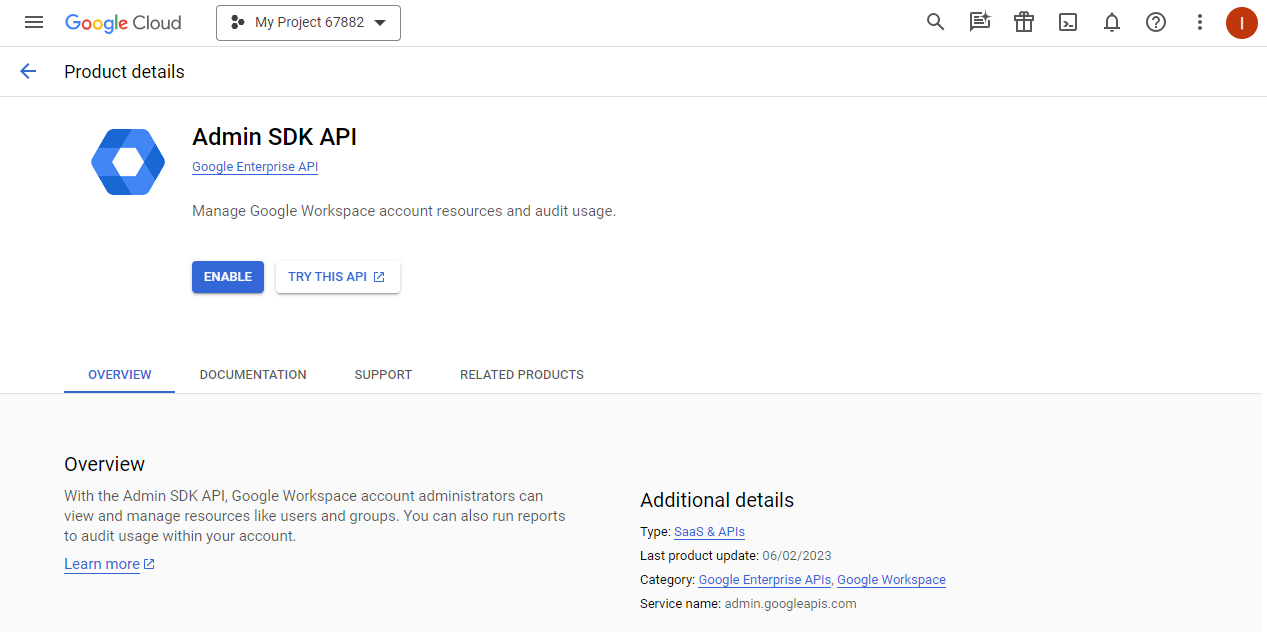 Enable Admin SDK API |
| 5 | Enable Enterprise License Manager API
|  Enable Enterprise License Manager API |
| 6 | Access to Google tenant’s console developer for service account management: | 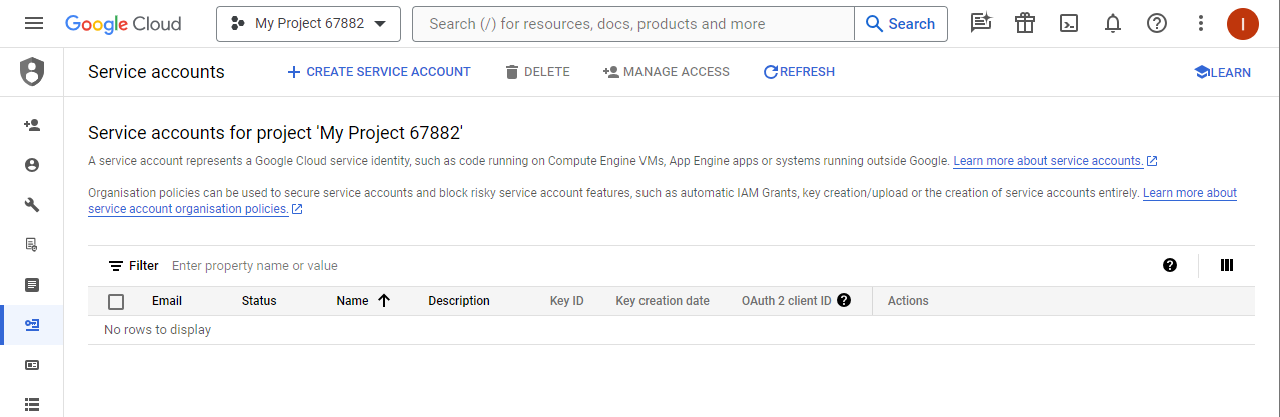 Google’s service account management |
| 7 | Create a new service account
| 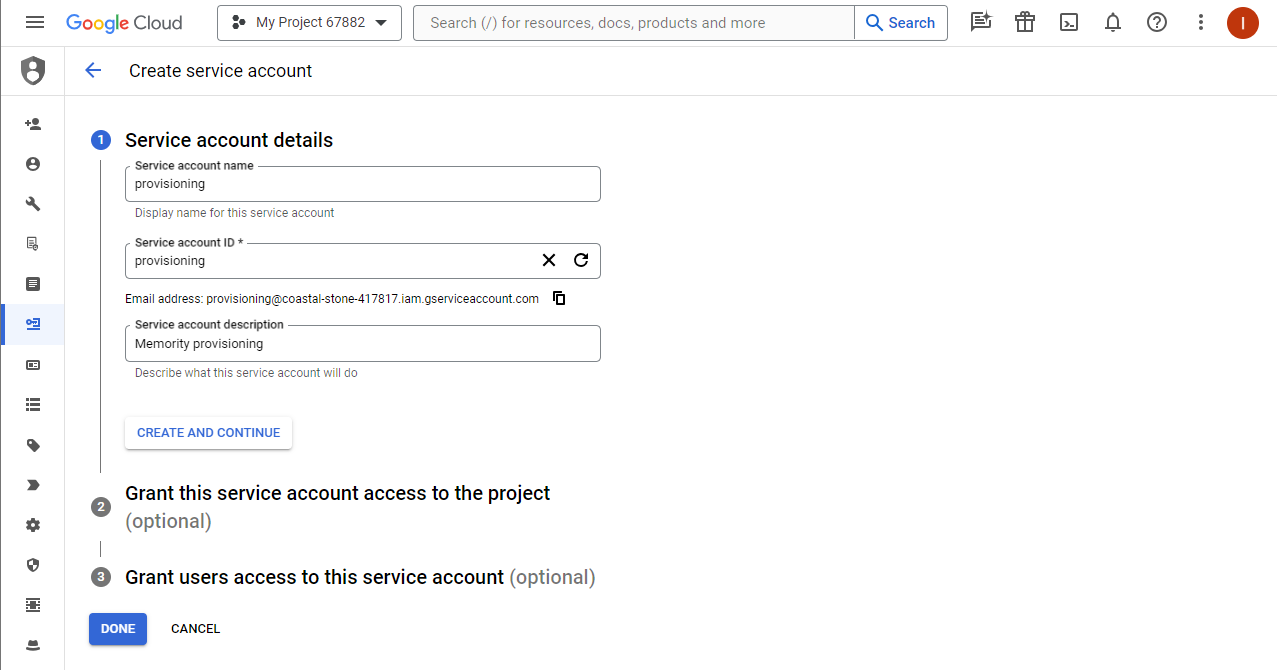 Create a new service account |
| 8 | Grant the service account to the project
| 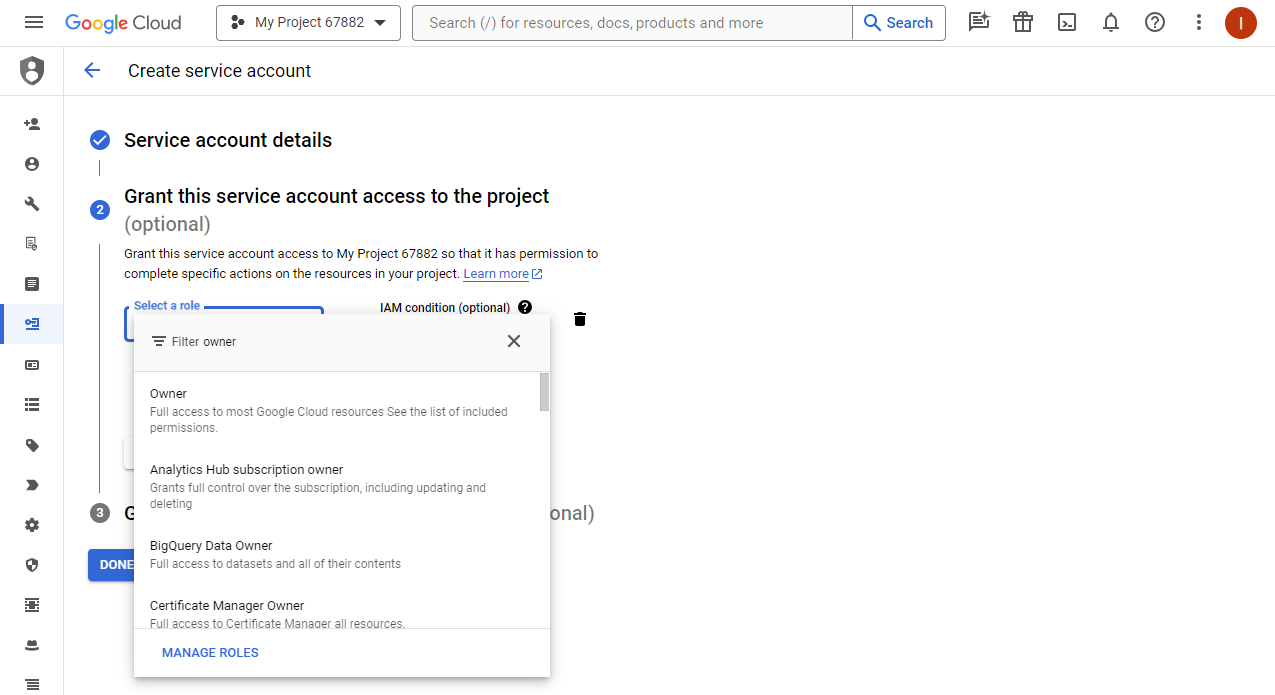 Grant the service account to the project as owner |
| 9 | Generate a key for the service account
| 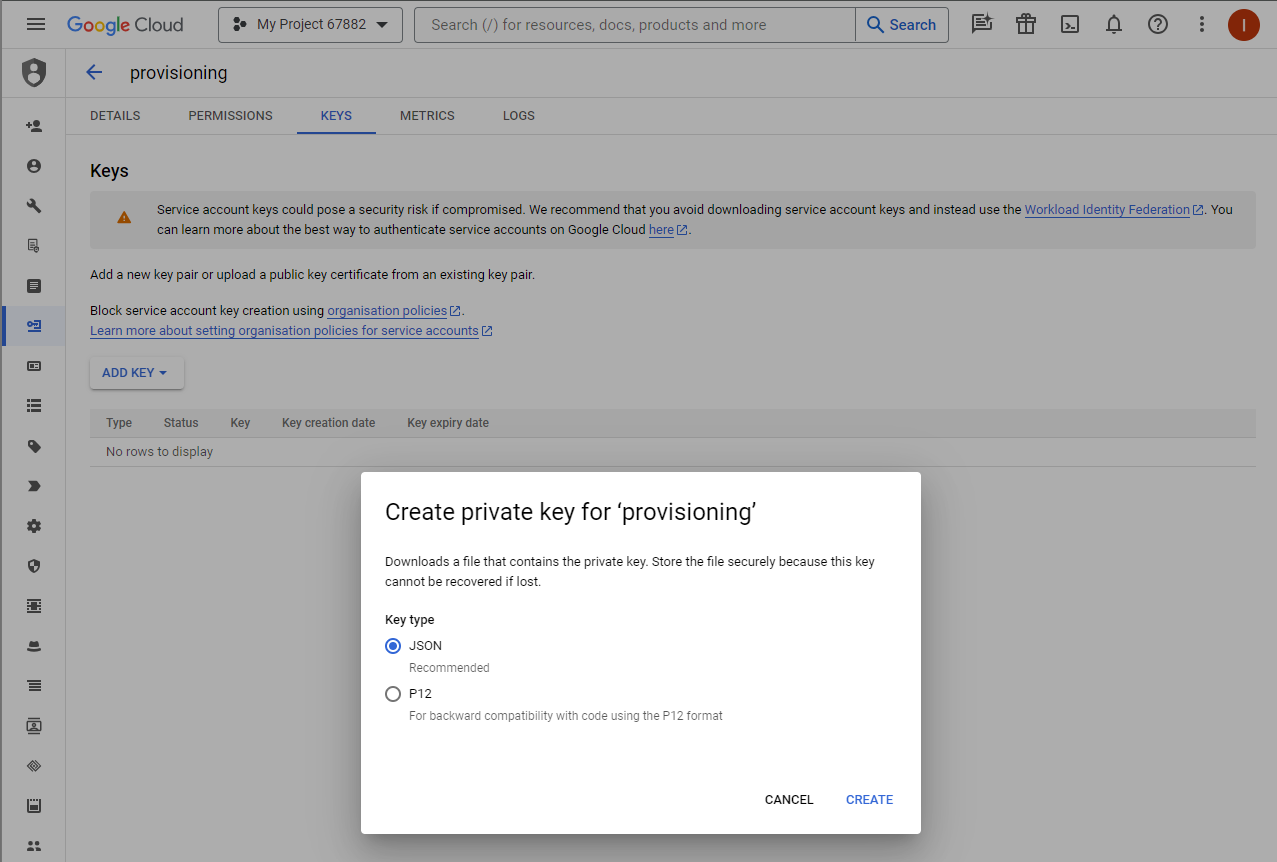 Create key for service account |
| 10 | Access to Google admin console to configure API client accesses: | 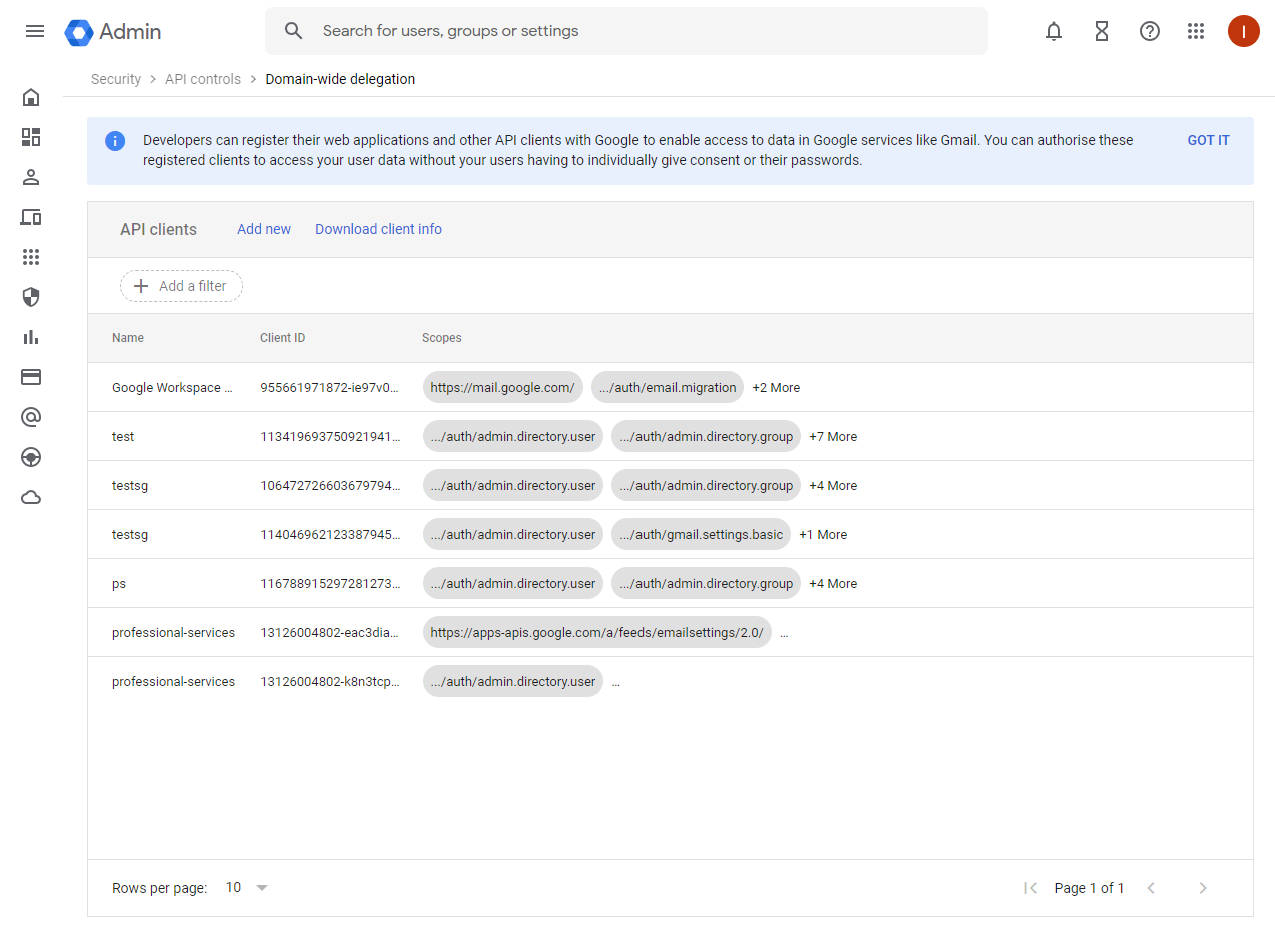 Set API client accesses |
| 11 | Add a new entry
| 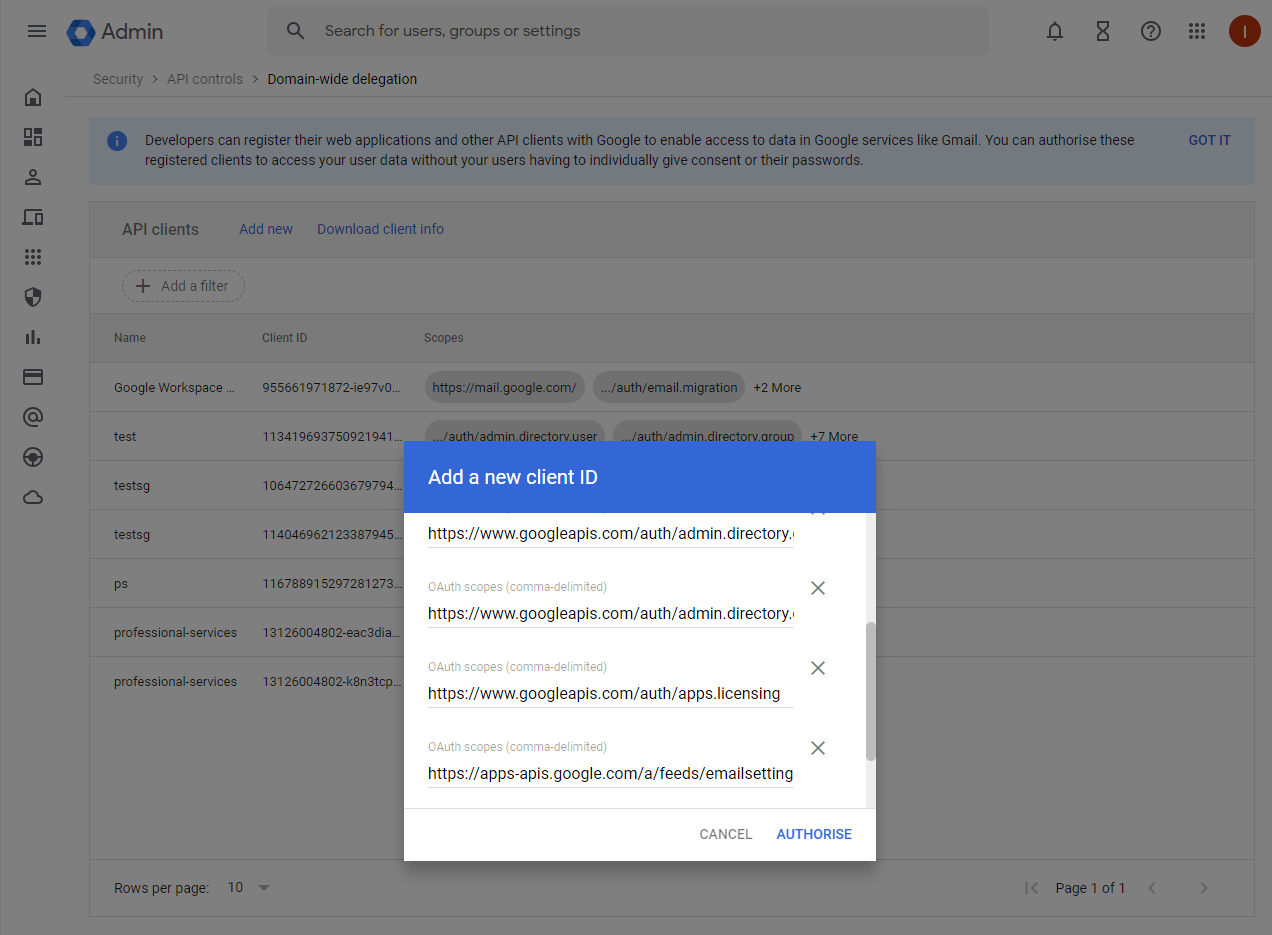 Add OAuth2 scopes to API client |
| 12 | Send the JSON file to integrator for configuration. |