
Authentication Step-Up
Allows to configure the different authentication levels and in which cases a higher authentication level can be requested from the user (portal, features...).
Initial access to the Memority portal(s) by users can be configured with a specific strategy in terms of authentication requirement.
For instance, administrators can require that the “password” method be used as the minimum requirement to access the application.
Once authenticated on the portal, a user can access the Features to which he has a right. However some Features might be more sensitive such as one allowing to change a user authentication device, a Feature allowing to view and/or edit sensible attributes and so on. It is desirable in that case to:
Require that the user authenticate with a stronger authentication method than the one he may have used at first.
Require to perform a new authentication anyway even if the user matches the authentication level required to access the Feature.
The prompt of a message indicating that a new and/or stronger authentication is required by the user, followed by a redirection to the authentication platform, is referred to as an “Authentication step-up” or just “Step-Up”.
In this guide we will see how:
To name and configure different authentication levels as an administrator
To set the strategies for accessing the portals
To configure a Feature with a step-up requiring a stronger method
What is the expected behavior for the user
Authentication Level configuration
Configuration
An Authentication Level is comprised of a name and a “classRef” which corresponds to an authentication method defined in the AM service.
As an example we will set up two Authentication Levels:
A password protected authentication
A certificate protected authentication
We also want to order these methods. This will be important when we will set the authentication methods for the portals access.
To configure Authentication Levels, one must declare them in the Setting authentication.levels.mappings.
Administration Portal > System > Settings > Business Service > Search for “authentication.levels.mappings” and edit the value
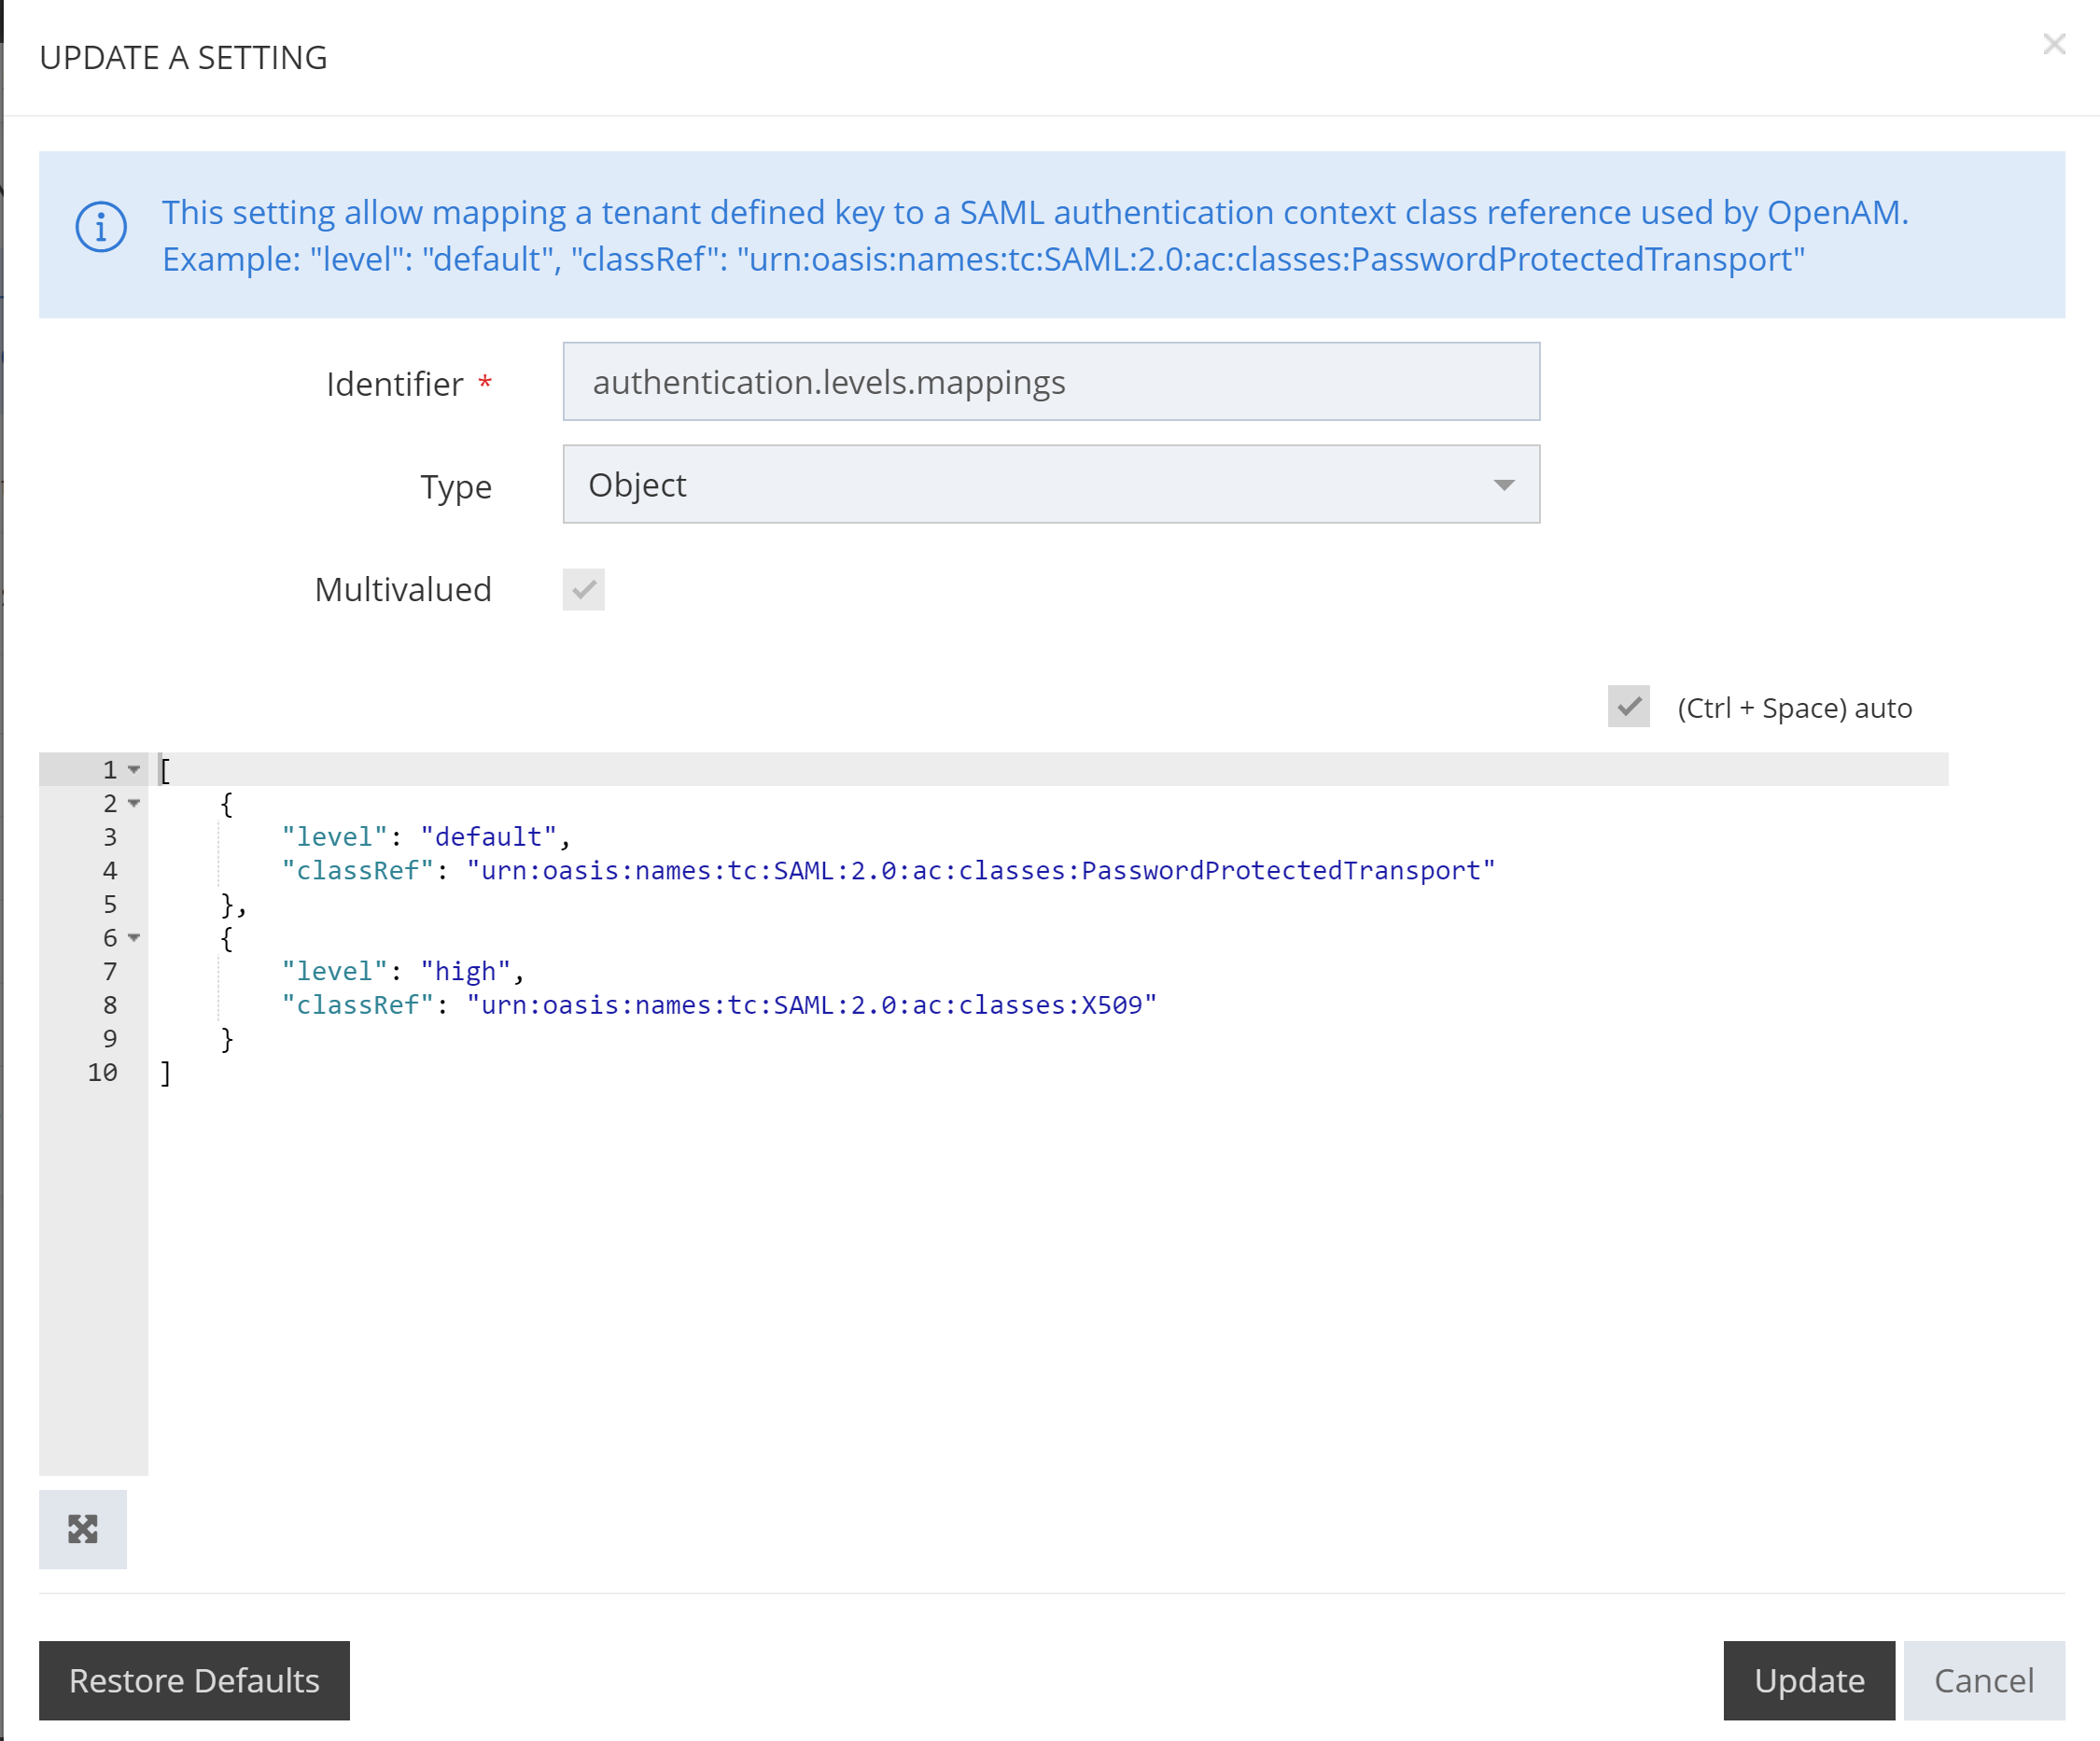
The configuration of our two Authentication Level is in order:
Level | classRef |
|---|---|
default | urn:oasis:names:tc:SAML:2.0:ac:classes:PasswordProtectedTransport |
high | urn:oasis:names:tc:SAML:2.0:ac:classes:X509 |
The value of the “classRef” attribute must match the values configured on the Access service.
The order of declaration of the Authentication Level matters. They must be ordered from the weakest to the strongest methods. This will be used when configuring the portals access strategy as we will see below.
Setting portals access authentication strategy
We will now use our newly defined Authentication Levels to set the base authentication requirement on the Memority portals.
To configure the authentication we will also use two built-in settings:
For the administration portal:
authentication.levels.admFor the user portal:
authentication.levels.usr
These settings accept a string which corresponds to the name of the desired Authentication Level as the minimal level. This means that if we set those settings to “default” (password protected authentication), users will have to authenticate using the password method. Users are also able to log in with any Authentication Level that are declared after the “default” method in the list that we configured above, meaning that our certificate authentication is also allowed (Authentication Level “high”).

Setting a step up on a Feature
For a Feature, the authentication requirement can be set up using the “authentication” property of the Feature configuration.
If no specific requirement is needed for a Feature, there’s no need to set the “authentication” object. Features will simply be accessed with the current authentication.
We should configure three elements of this property:
Property | Default value | Description |
|---|---|---|
authenticationLevel | null | the name of an authentication level previously configured. In our example this can be “default” or “high” (although since we only have these two there would be no need to set this to “default” since the user is already authenticated (at least) with the default authentication level). |
authenticationLevelComparison | MINIMUM | Set how the user’s current authentication method should be compared to the authentication level specified in this configuration. The different values are:
|
authenticationLevelForceGracePeriod | null | A period duration (ex: “PT2H” for 2 hours) that only apply if the user is already compliant with the authentication level required by the Feature. If the user’s session is older than this duration, the user will still be forced to authenticate again. If not set the authentication will not be forced if the user is compliant. |
For our example, we will use a Feature that manage Organizations and we will require a “high” level of authentication with an EXACT comparison and a grace period of 2 hours:
 <authentication>
    <authenticationLevel>high</authenticationLevel>
    <authenticationLevelComparison>EXACT</authenticationLevelComparison>
    <authenticationLevelForceGracePeriod>PT2H</authenticationLevelForceGracePeriod>
</authentication>
Expected behavior
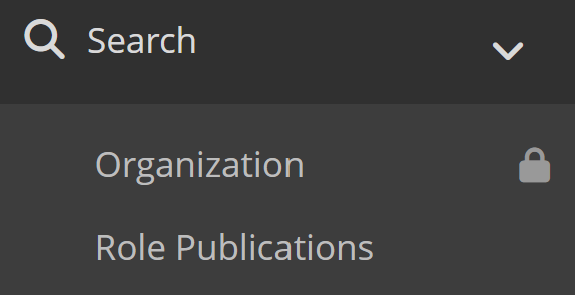
Once our user is authenticated (with the password protected method) on the portal, he should see that our Feature appears with a lock icon:
This indicates that our Feature requires a step up. If the user try to access the Feature he will be prompted as follow:
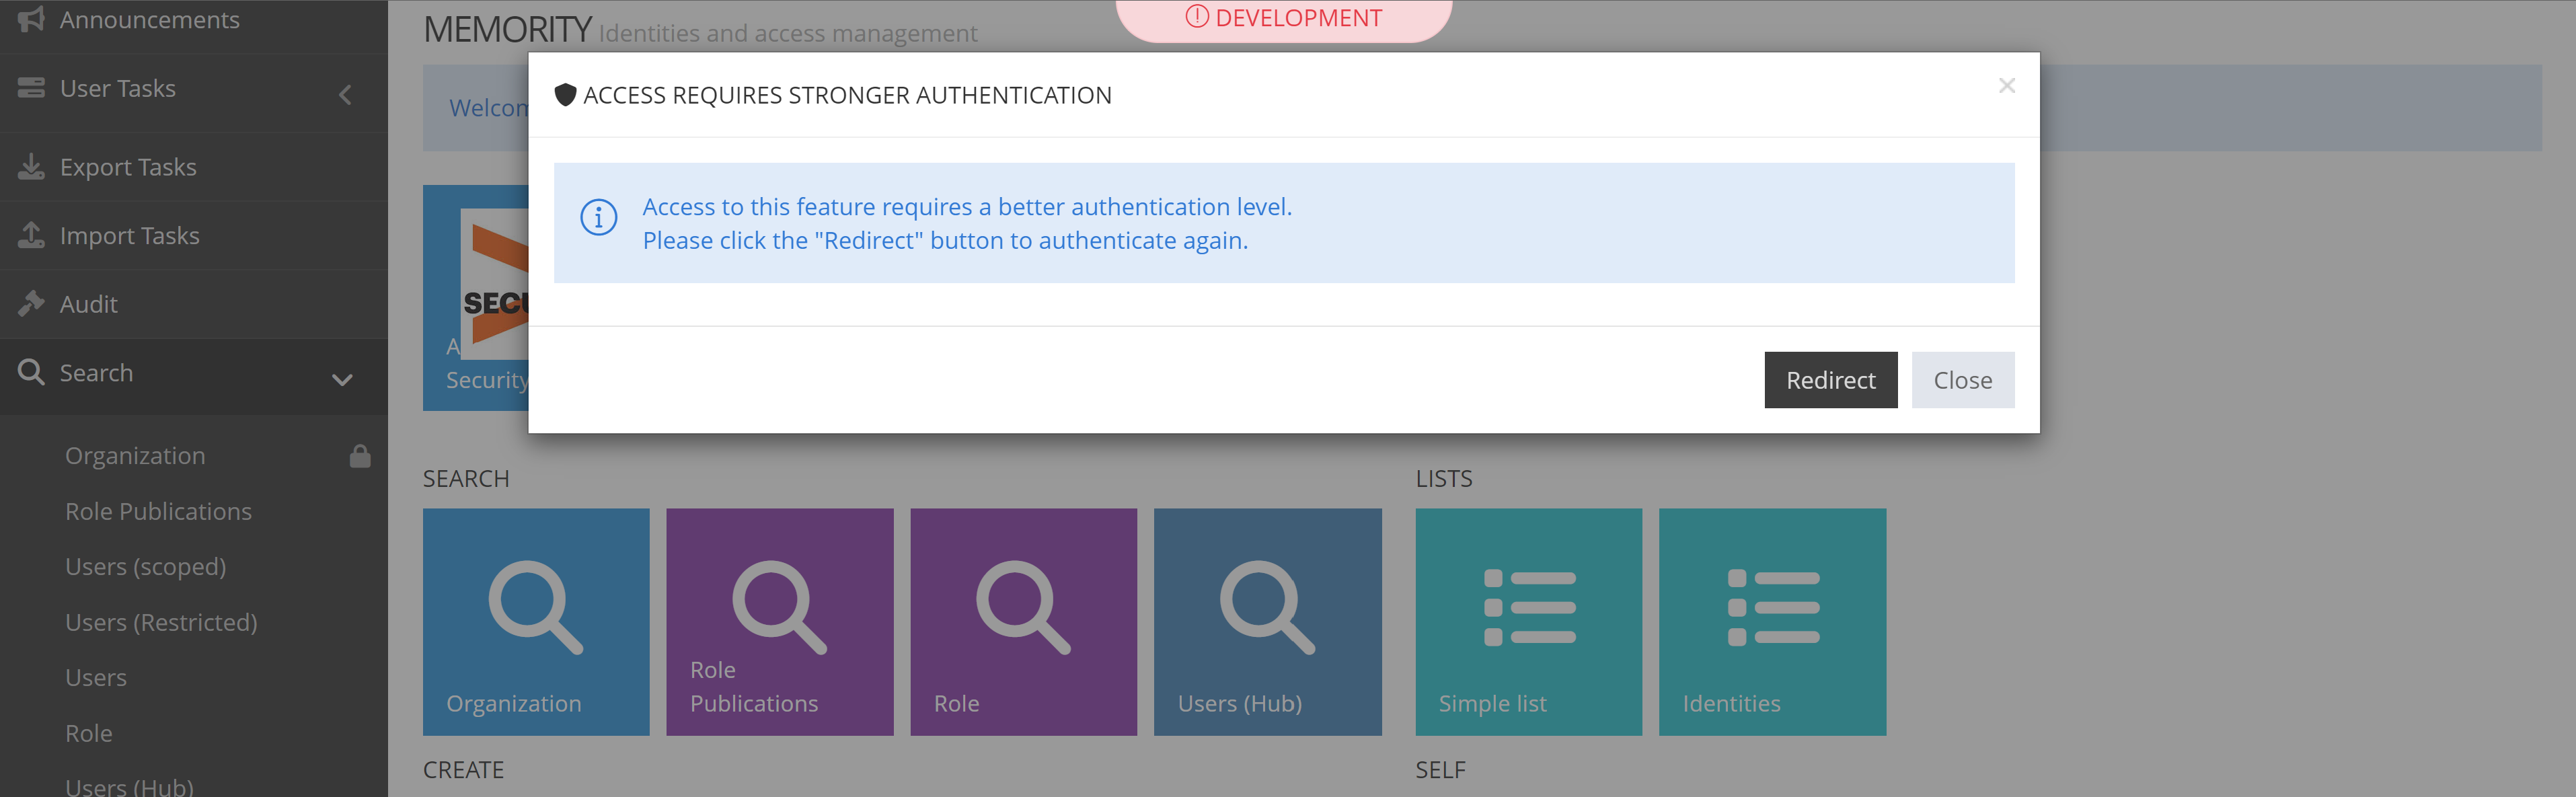
Upon clicking the step up button, the user will be redirected to perform an authentication with the “high” level of authentication, which requires an X509 certificate.